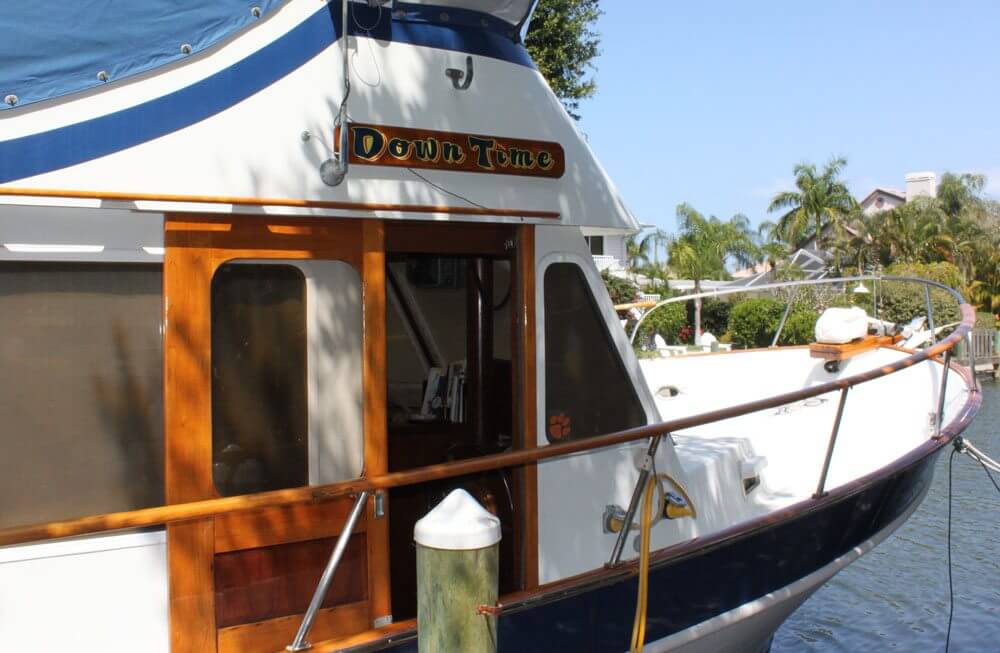
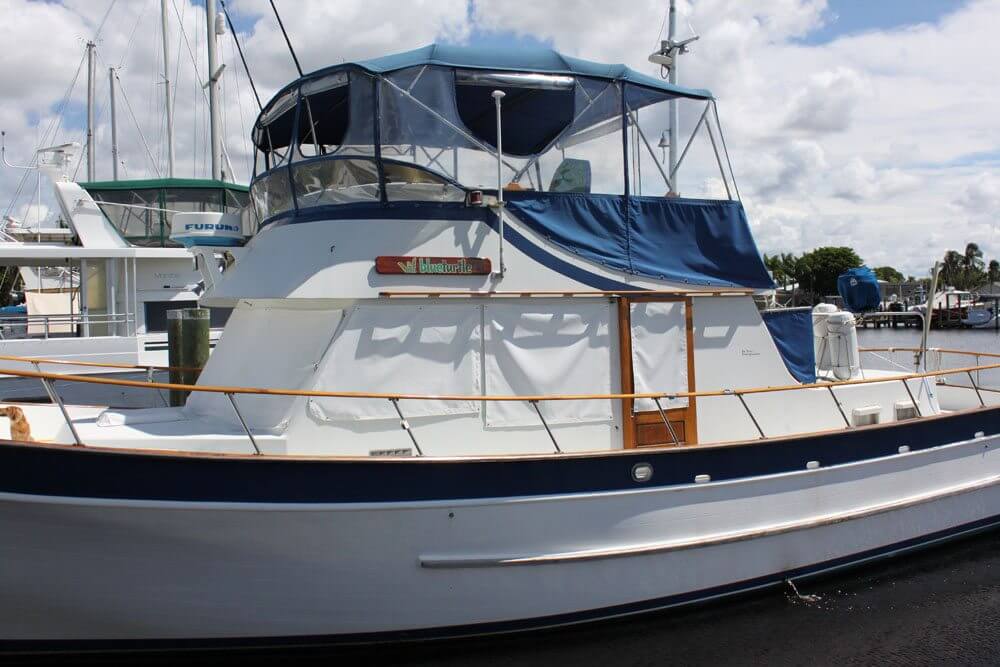
You may have read a while back that Randy and I renamed our Trawler from Down Time to Blue Turtle. We’ve since changed the lettering on the stern and held a christening. One of the last items to take care of, was refinishing the wooden name boards that were on both sides of the trawler. We took the boards down and gave them to a friend of ours who removed the old lettering and sanded the boards down to the bare wood. Once we got the boards back it was time to get down to business.
I was told that the best way to go about doing the refinishing was to first apply 2-3 coats of varnish to the wood before applying the vinyl lettering. This would give the lettering something to adhere to. Once the lettering was installed, I would go about applying several layers of varnish on top of the lettering to a high gloss finish. I have to admit that when I began the project, I thought it would be simple and a fairly quick process. I mean, it’s painting right? I’ve had lots of experience painting walls in my old condo and friends’ homes, how could it be different? Well, for starters I should have already figured that this would take 3 times as long to do than in any house….doing anything on a boat should be multiplied by at least 3! Think a project will take 2 days? On a boat it takes 6 days to a week. Think a certain project will cost $1,000? Since it’s on a boat, it will realistically cost $3,000…you get the picture. When it’s all said and done, my “little” refinishing project ended up taking a couple of months. I also had a few setbacks.

So, I started out my project using Petit 1015 Captain’s Varnish exterior varnish. This varnish is described to have an amber colored finish. Since I was completely green, I had no idea what this meant. It turns out that the Captain’s Varnish make the wood look a little darker and deeper colored. I was told that I should thin the first couple of coats with brushing thinner to help it soak into the bare wood. It turns out that this is highly debated. I’ve had others tell me that there is no need to thin the varnish for bar wood. Apparently, the this was the case with the way they used to make varnish and these days the varnishing products don’t need to be thinned for bare wood.
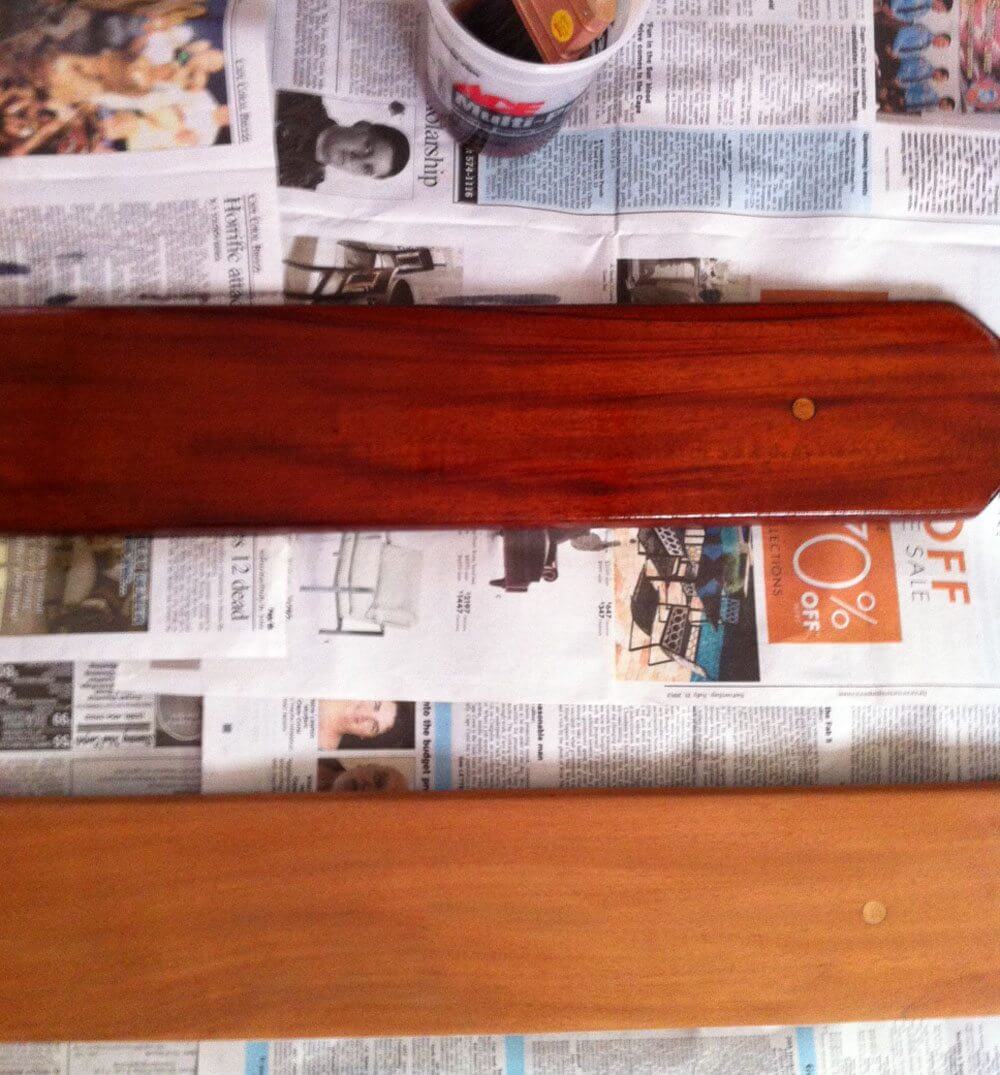
After a couple of coats of the Captain’s Varnish, I noticed that the finish was very dark. I really wanted to keep the wood lighter to match our railings. It turns out that this wasn’t going to be possible since the wood of our name boards was not the same as the teak railings (I’ve been told by several people that our boards look to be made of mahogany). So, after the base coats of Captain’s Varnish, I went ahead and ordered the vinyl lettering and had it applied to the boards. At this time, I decided to finish the top layers with Petit 2015 Flagship Varnish thinking that this varnish would be more clear in color. This varnish was lighter in color, but it did have color to it. In the end, I should have used a varnish with absolutely no pigment and this is where I went wrong.

I applied 2 coats of the Flagship Varnish and was somewhat happy with it. The pigment in the varnish seemed to stained the white outline of the lettering to an ugly yellow color. I also was getting a lot of bubbles in the texture of the dried varnish. I spoke with a friend who has done a lot of varnishing on his Grand Banks and he told me that the devil is in the details. He mentioned that I should be using a badger hair brush (not the Purdy brush I got at Ace Hardware) and that I should be straining/filtering the varnish to pull out the dust particles. So on my third coat, I tried these two suggestions and the finish looked flawless (when wet).

Once it dried, I had a very smooth finish in parts of the boards, but in other parts (like over the lettering) I had a horrible texture that appeared. I approached a guy that works on a sailboat in our marina about the finish. He’s had extensive experience in varnishing boats and so I asked him what this was and what I should do to fix it. He mentioned that the heat of summer could definitely cause some issues. I found this out when I did the second top coat up on our bridge and left the boards to dry up there. The August temps were not kind and I ended up have to do a lot of sanding afterward. I learned that this was definitely an indoor project from here on out. He also asked if I was thinning the varnish. I told him that I had thinned the first 2 layers (before the lettering) and he responded by telling me this was unnecessary. He asked if I had added any brushing thinner to the varnish each day I opened the can. Whoops! I asked if I was supposed to and he said yes, you should be adding a drop or two to the varnish each day after opening the can. He mentioned that this was probably why I had developed the “alligator skin” texture…the varnish had gotten too thick and with the coats below it not being totally dry, this caused the ripple in the finish. He suggested that I wait a week to let the varnish fully dry and then wet sand the boards to remove the texture and then start over from there.
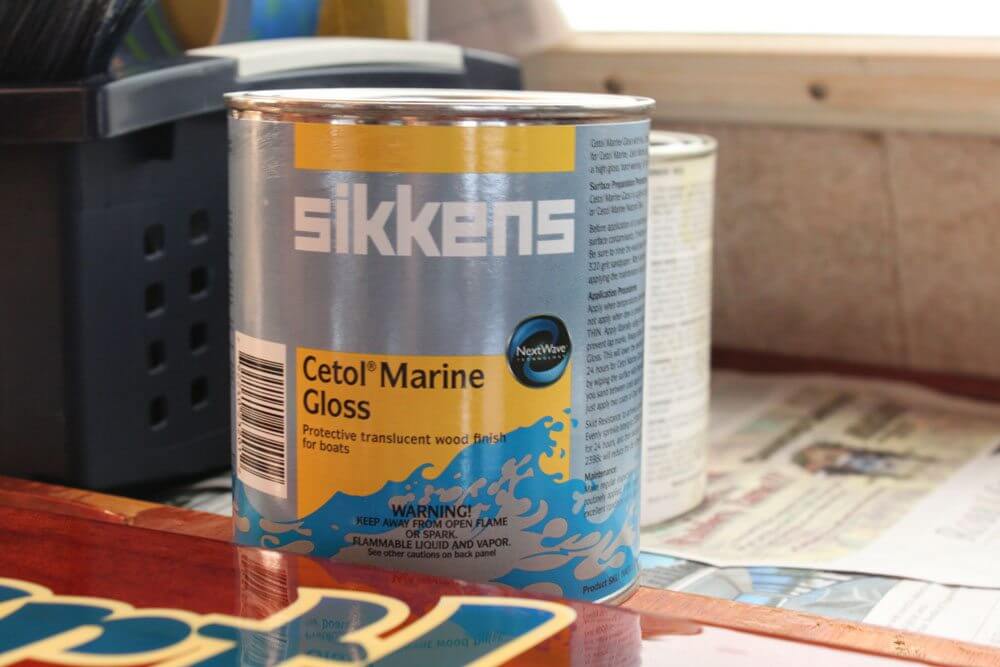
Great. I had to basically start over with the top coats. Since I had to wet sand the boards anyway, I decided that I would sand them down as far as I could go without damaging the lettering. I wanted to sand out as much of the Flagship as possible to lighten the outline around the lettering that was supposed to be white. I was successful in sanding out most of the alligator texture but wasn’t able to sand out much of the yellowish tint that had probably stained the vinyl letting. I decided from this point on I would use Sikkens Cetol Marine Gloss since it has no pigment at all. After the first coat, I was impressed. I had a high gloss finish and it was very easy to work with.

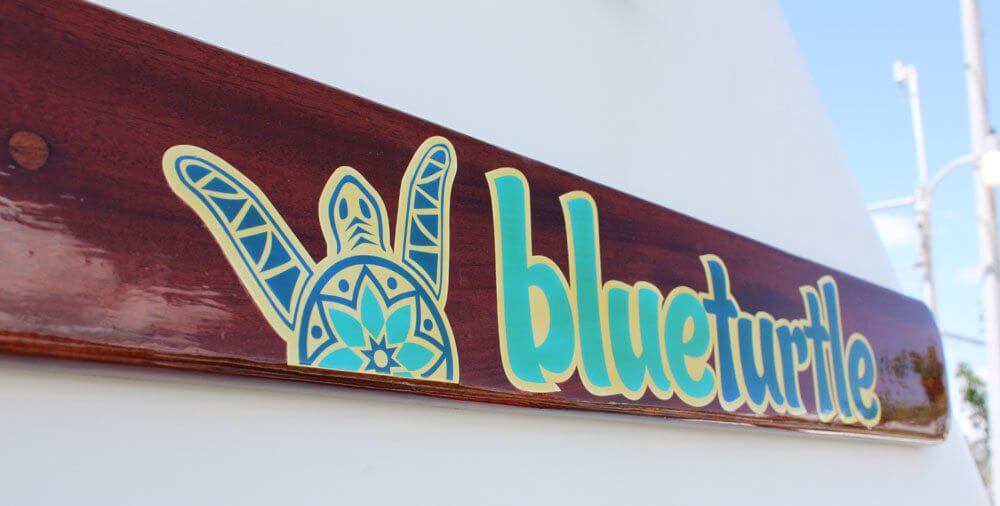
I finished up my boards with 4 coats of Cetol Gloss and was quite happy with the result. Unfortunately, the white outline around my lettering still looks yellow. In retrospect, I should have stuck with a clear gloss finish from the beginning since I wanted my boards lighter and the white outline to appear white. When the boards need to be refinished due to wear, I now know what product to use. What a learning experience this has been!

Once my name boards were dry and installed (see pics below), I had to varnish a few things in the interior of our boat. We have had some woodworking projects that have required me to varnish new pieces of teak. For the new teak, I used Minwax® Fast-Drying Polyurethane. My parents had used it for a few of their projects so I figured, why not give it a try? Again, my issue ended up being about the color/pigment. For any new teak on the interior of the boat, I should have used something with pigment to darken it to match the other interior wood. Minwax, like Cetol Marine Gloss, is clear and without pigment. The new teak was much lighter than the rest of the interior. Our interior teak is a more reddish color and darker than the exterior teak. After one coat of Minwax, I decided to give the Captain’s Varnish a try again and this time, it was perfect for this application. The Captain’s Varnish has a beautiful amber color and was probably what was used on the rest of our interior. It was nice to come back full circle and find a use for the unused varnish.
So, my varnishing lessons learned goes something like this:
- Know your product and know what the desired finish you want. Does the product have any pigment? If so, is it dark or amber color, etc? Are you wanting to darken the wood a bit to match surrounding wood? Are you just wanting a high gloss without any color at all?
- For darker/reddish finish (like interiors) use something with a pigment, like Captain’s Varnish or Flagship
- If you just want a high gloss and no color added, then Cetol Marine Gloss works best
- For best results, used a badger hair brush and strain the varnish to remove dust (the details make a difference)
- If using Pettit’s Captain’s Varnish or Flagship, add a couple drops of thinner each time you open the can. As far as I know, Cetol doesn’t need brushing thinner added
- Petit products require sanding in between coats. Cetol doesn’t unless it is the first coat
- Don’t varnish wood or let it dry in extreme heat. The heat can cause bubbling and “alligator skin” texture. If you have to vanish during the summer, make sure to do it in the very early morning or late in the evening. Make sure you have shade. For smaller pieces, I put a tarp and newspaper down in the cabin and did this indoors (you might need to crack a door and use a fan to help rid the fumes).
- Varnishing isn’t like painting — AT ALL. It takes considerably more time to dry and takes the right tools and touch to do it correctly. Practice makes perfect!
- With painting, you can apply 2-3 coats within 2 days and be done. With varnishing, you want many, many layers and each coat/layer needs 1 day to dry. If I had done my boards the right way (without the mistakes and delays) it would have taken at least a week to apply the 7-8 coats. It’s definitely a longer term project.
So, in the end, the name boards are done and mounted. Check them out and let me know what you think!


Thank you; I may have been saved some grief. I’m at the stage where I just applied the vinyl lettering on top of 2 coats of CPES and 3 coats of Captain’s Varnish (over mahogany). I had planned on several more coats of Captain’s Varnish, but now after reading your post (and others), I think I might try the Cetol.
Larry, I was surprised by how nice the Cetol gloss is. I had been told that the Petit varnish was the way to go, but after using both, the Cetol just seemed a little easier to work with.